I have a little tip for you today.
Where do you leave your cookies to dry? This is what I do . . . .
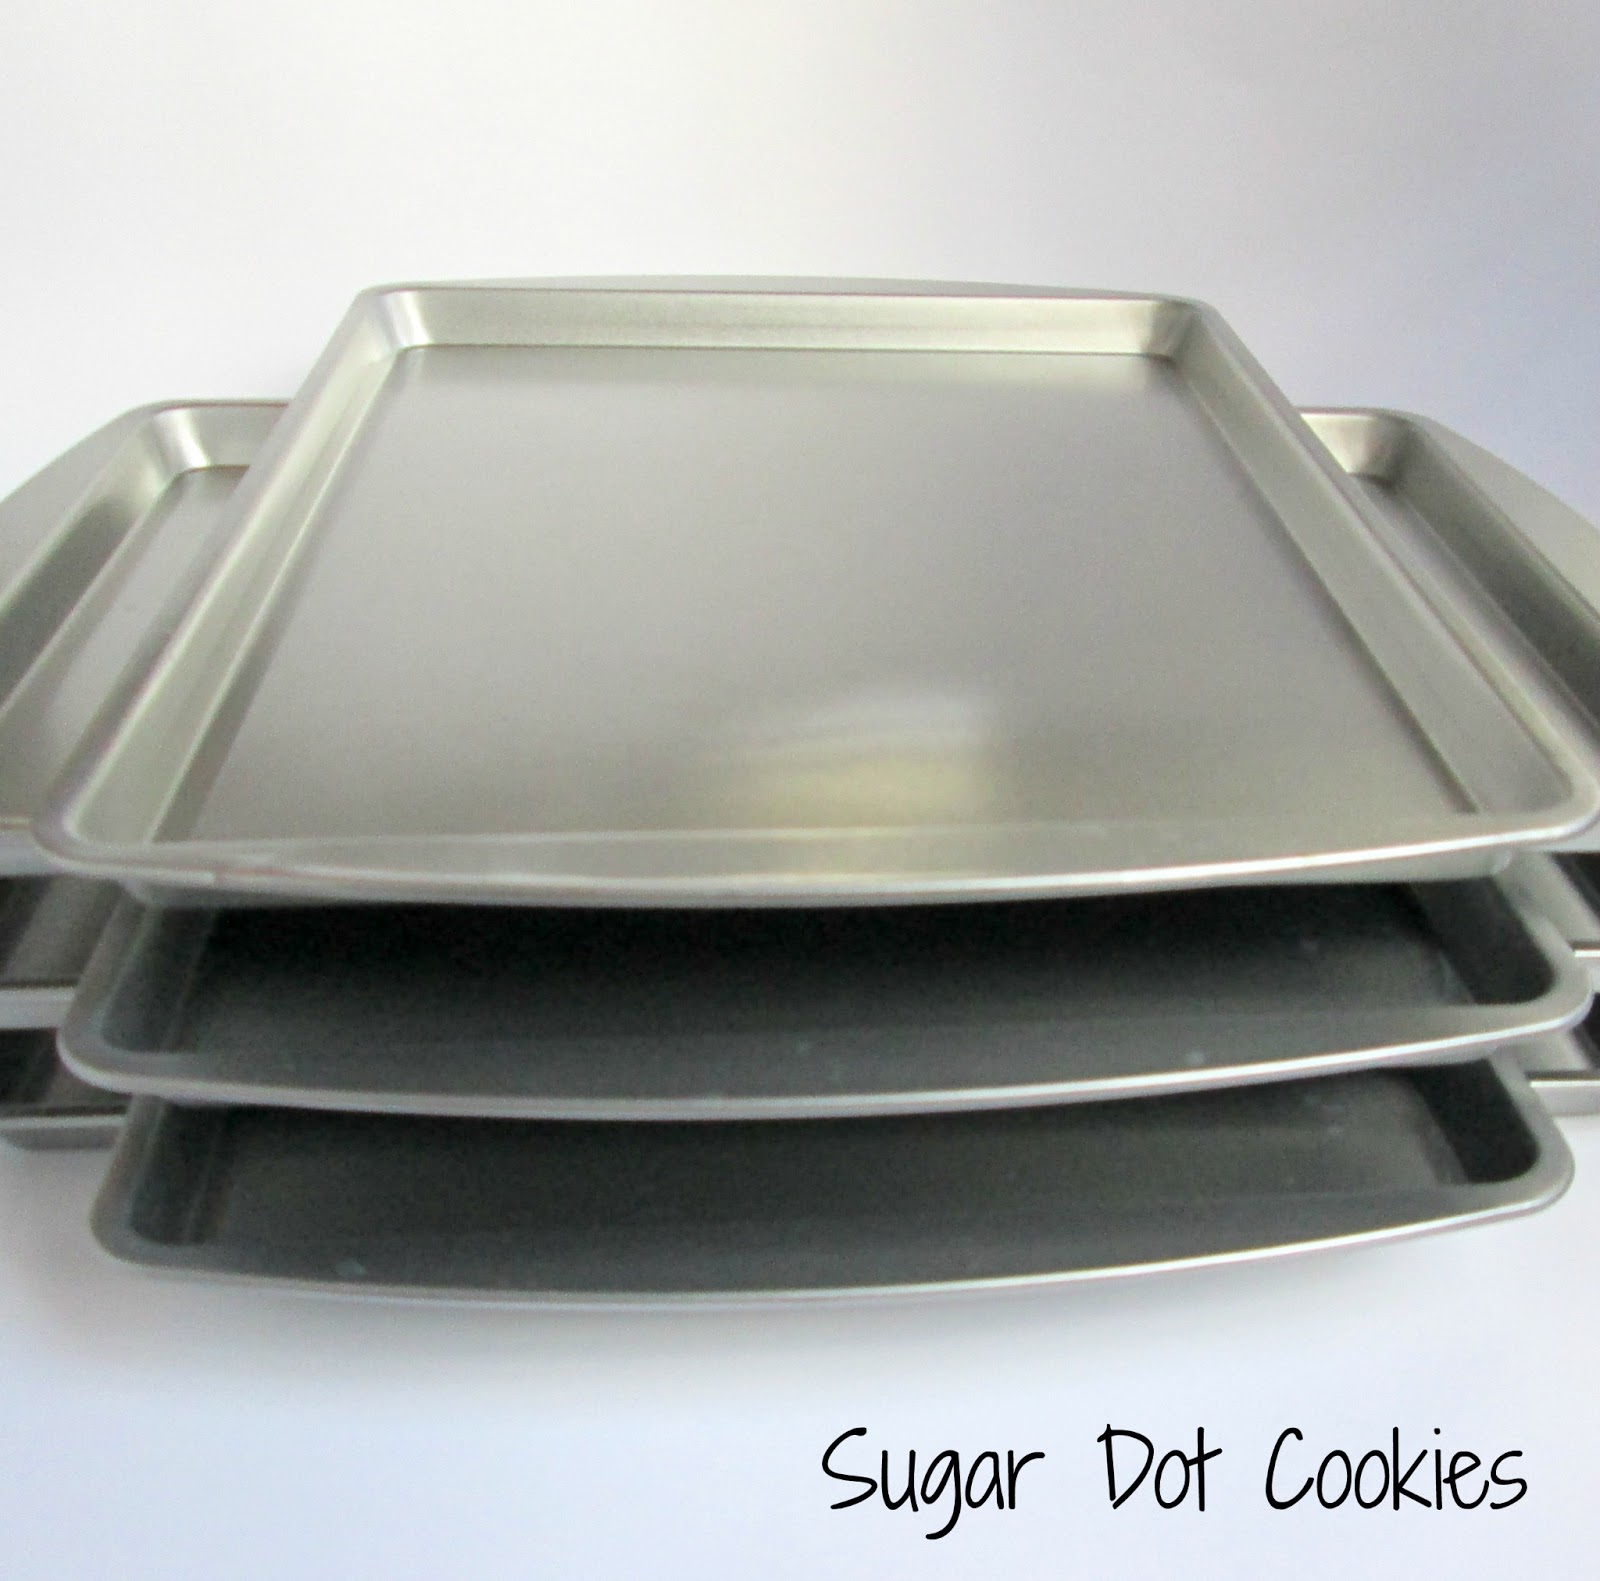
These are dollar store cookie sheets. They're quite small. They're too flimsy for baking but they're perfect for decorating. I place the cookies along the perimeter so there isn't much reaching across.
I also leave my cookies on them to dry overnight. I stack them all up as you see in the photo above.
The problem? These sheets are slippery. One false move and one or more trays can easily fall right onto the cookies below. It's a disaster waiting to happen.
One day I decided to run a line of hot glue along the rims to see if that would keep the trays from slipping. It worked but the hot glue didn't last long. It all peeled right off.
My next attempt - Plasti Dip. You can find it at the hardware store. It's a liquid plastic.
The picture on the can shows yellow, but it's actually black plastic in this can.
Outside, or in a well ventilated area, give it a stir, then like the cookie decorator that you are, make a parchment cone. Fill it with Plasti Dip and pipe it along the rims of the cookie sheets. I'm sure you could use a paintbrush but that seemed messier and more time consuming to me.
It's the consistency of really loose flood icing. It's messy. Let your first coat dry then add another line on top of the first.
It may be ugly but these pans aren't going anywhere! The grip is amazing. There's absolutely no risk of the pile of cookie sheets coming down!
Do you fear your cookie sheet mountain falling like a house of cards? Give it a try!
Showing posts with label tip. Show all posts
Tuesday, April 9, 2013
Tuesday, June 12, 2012
Welcome to Tuesday's Tips - where I share just a little tidbit with you that I hope you'll find useful.
Today's tip is to number your basic shape cookie cutter sets. Number them with a permanent marker. Start with 1 for the smallest of the cutters and go up from there.
I number them for two reasons.
* Just suppose that you don't always put your cutter sets back together neatly stacked in their bins. Just suppose that they're floating around loose in those bins or even piled up waiting to be put away. If that happens to be the case when you're digging around looking for a small round and you pick one up, you won't be left guessing as to whether or not that's the smallest one in that set if it's numbered. You know right away the size of that cutter in relation to the others of the same set.
* Having the cutters numbered helps me remember later which cutters I've used for certain things. I know that I used a #5 circle cutter for tennis balls and a #1 circle cutter for minis. Maybe it's just me, but I find it much easier to remember the sequential numbers rather than measurements. Sometimes I write down which cutter I've used. I don't write the measurement. I write the number that it's been assigned. This is especially helpful on cutters like the hearts in the photo above, that don't have the measurements stamped on them. No need to pull out a ruler and look for a 3" heart when you instead are looking for a #4 heart. Retrieving that needed cutter couldn't be quicker!
Grab that permanent marker and get to numbering! I think you'll be glad you did.
Today's tip is to number your basic shape cookie cutter sets. Number them with a permanent marker. Start with 1 for the smallest of the cutters and go up from there.
I number them for two reasons.
* Just suppose that you don't always put your cutter sets back together neatly stacked in their bins. Just suppose that they're floating around loose in those bins or even piled up waiting to be put away. If that happens to be the case when you're digging around looking for a small round and you pick one up, you won't be left guessing as to whether or not that's the smallest one in that set if it's numbered. You know right away the size of that cutter in relation to the others of the same set.
* Having the cutters numbered helps me remember later which cutters I've used for certain things. I know that I used a #5 circle cutter for tennis balls and a #1 circle cutter for minis. Maybe it's just me, but I find it much easier to remember the sequential numbers rather than measurements. Sometimes I write down which cutter I've used. I don't write the measurement. I write the number that it's been assigned. This is especially helpful on cutters like the hearts in the photo above, that don't have the measurements stamped on them. No need to pull out a ruler and look for a 3" heart when you instead are looking for a #4 heart. Retrieving that needed cutter couldn't be quicker!
Grab that permanent marker and get to numbering! I think you'll be glad you did.
Tuesday, May 29, 2012
Kopykake Projector - Two Tips to Keep Cookies from Shifting
Welcome to Tuesday's Tips - where I share just a little something with you that I hope you'll find useful.
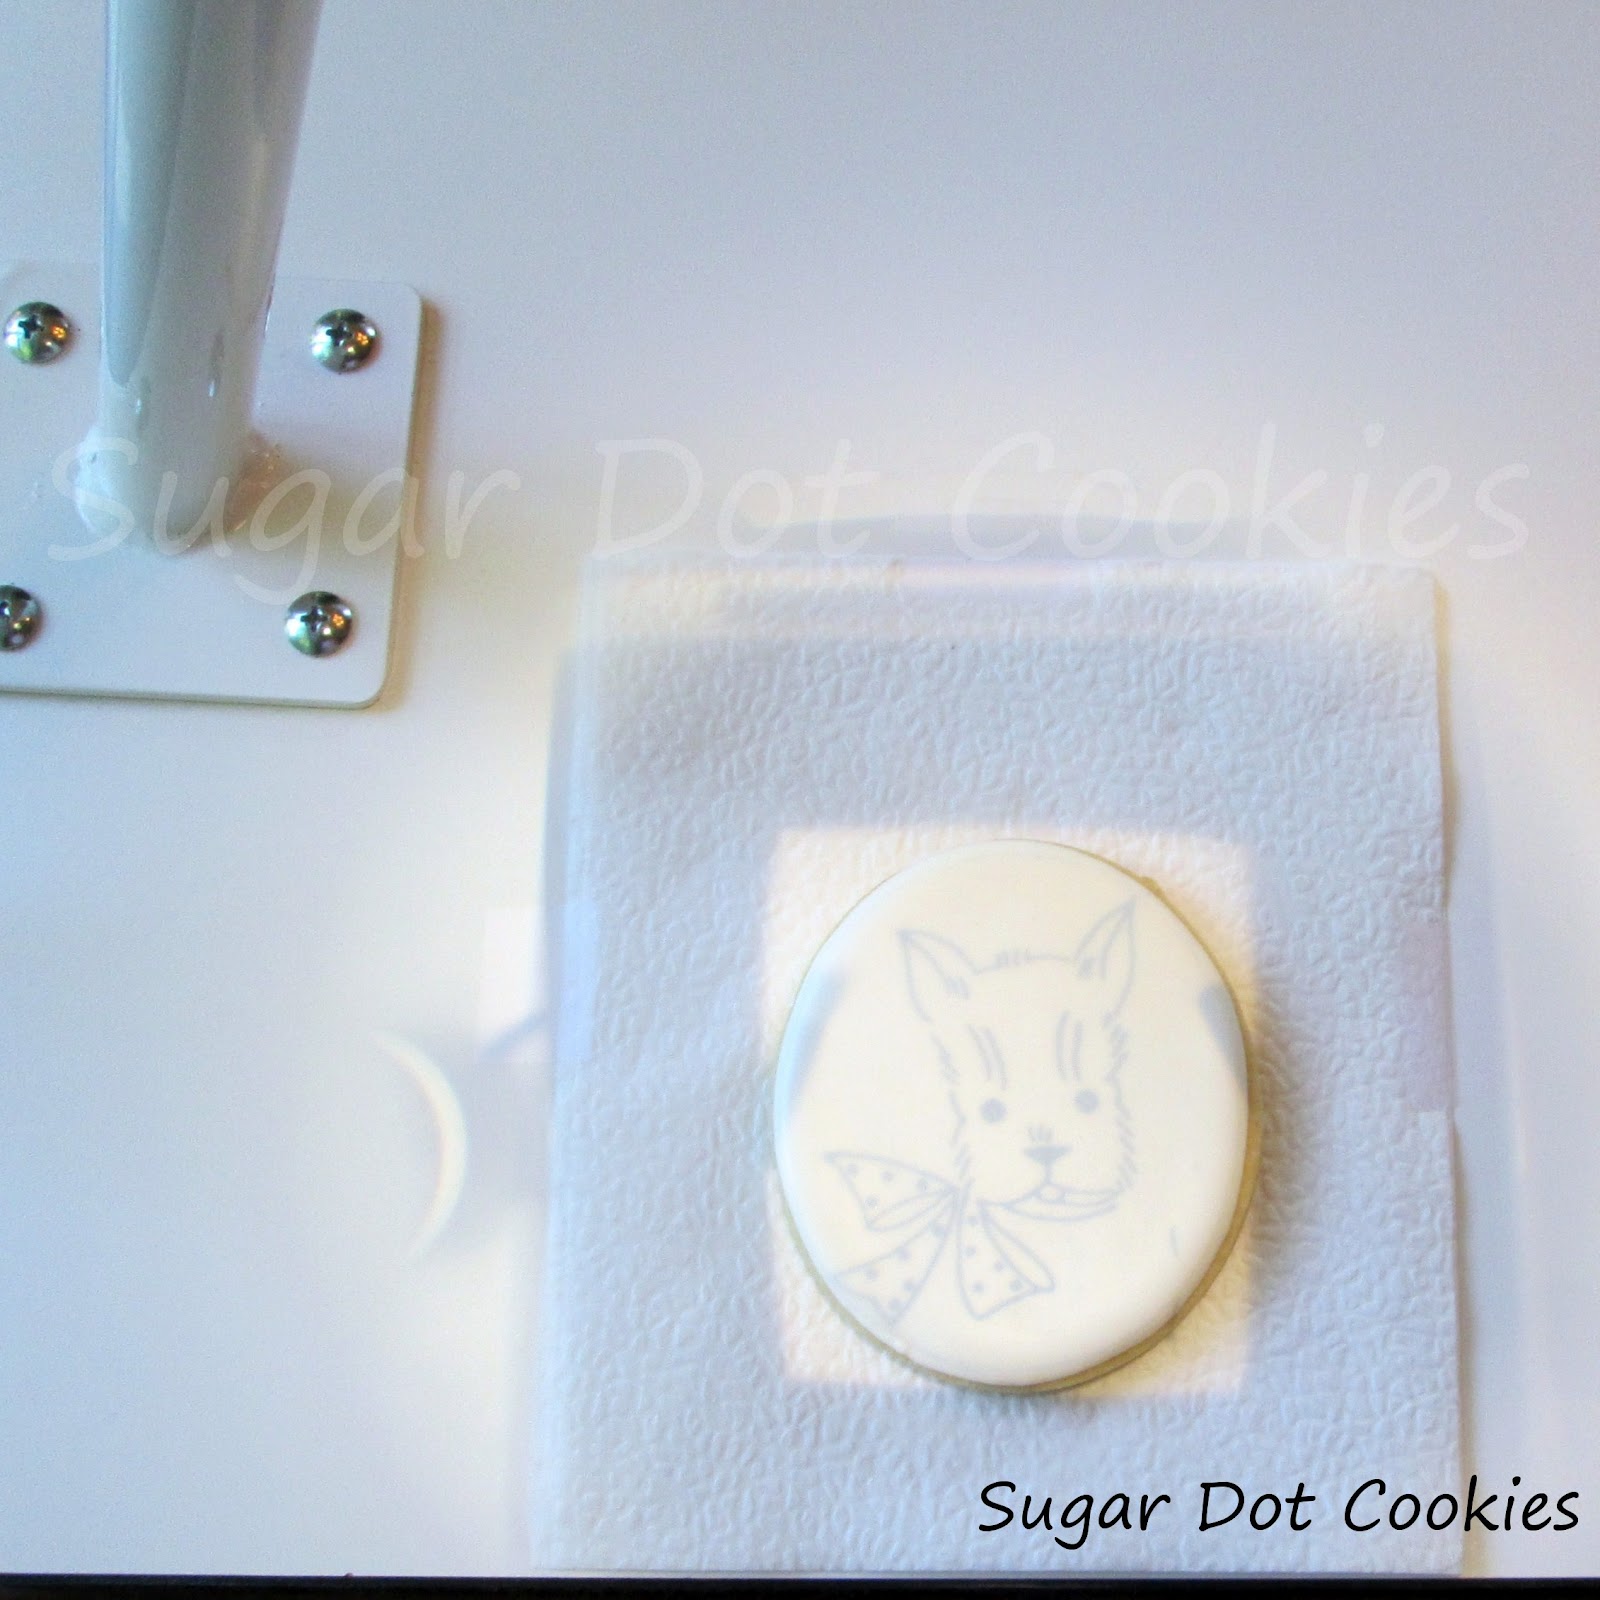
Today I have two quick tips for making sure that your cookie doesn't move under the image from a Kopykake projector.
* Swing the lamp around so that the projected image is close to the edge of the board. No reaching!
* Tape a napkin to the board and place your cookie on it. The tape keeps the napkin from moving. The napkin keeps the cookie from moving because it's less slippery than parchment or wax paper.
Today I have two quick tips for making sure that your cookie doesn't move under the image from a Kopykake projector.
* Swing the lamp around so that the projected image is close to the edge of the board. No reaching!
* Tape a napkin to the board and place your cookie on it. The tape keeps the napkin from moving. The napkin keeps the cookie from moving because it's less slippery than parchment or wax paper.
Tuesday, May 22, 2012
Baking Cookie Dough with Small Points - Tip Tuesday
Welcome to Tuesday's Tips - where I share just a little tidbit with you that I hope you'll find useful.
Do you ever bake cookie shapes that have small points like these tulips and houses? Do those little pointy bits get over-browned?
I have a few tips for you.
The first is to know your oven. I know that the perimeter of my oven is cooler than the center. I make that work for me when baking these kinds of cookies.
I place them on the sheets with their little protrusions pointing toward the outside. The parts of the dough with the largest area to bake are closer to the center of the oven. (Just like the photo above - except spaced farther apart. I moved them all in closer to snap a photo.)
If you're baking larger cookies, you'll obviously be baking them longer. In that case, be prepared with small pieces of aluminum foil. Place the cookies on the baking sheets the same way I just explained, but fewer of them. After about six minutes, cover the pointy bits that are already baked through with the foil pieces.
I hope you'll give this tip a go the next time you're baking those hard to control shapes!
Happy Tuesday!
Do you ever bake cookie shapes that have small points like these tulips and houses? Do those little pointy bits get over-browned?
I have a few tips for you.
The first is to know your oven. I know that the perimeter of my oven is cooler than the center. I make that work for me when baking these kinds of cookies.
I place them on the sheets with their little protrusions pointing toward the outside. The parts of the dough with the largest area to bake are closer to the center of the oven. (Just like the photo above - except spaced farther apart. I moved them all in closer to snap a photo.)
If you're baking larger cookies, you'll obviously be baking them longer. In that case, be prepared with small pieces of aluminum foil. Place the cookies on the baking sheets the same way I just explained, but fewer of them. After about six minutes, cover the pointy bits that are already baked through with the foil pieces.
I hope you'll give this tip a go the next time you're baking those hard to control shapes!
Happy Tuesday!
Tuesday, May 15, 2012
Mirror Image Sugar Cookie Designs - Tuesday Tip
Welcome to Tuesday's Tips - where I share just a little tidbit with you that I hope you'll find useful.
Have you ever made sugar cookies and wished that you could achieve mirror images?
I have. Many times. Like with these chicks. Why do they all have to face the same direction?
And the pink and orange bunnies below. They're headed in the same direction as the chicks.
Where's everyone going? What's over there?
I like things symmetrical. Always have. Whatever's happening on the left, the opposite should be happening on the right. Right? Kinda like this . . .
Aaaahhhhh. That's more like it. Symmetry. Reverse image cookies. I feel better.
Asymmetry just doesn't sit right with me.
To get mirror image cookies. . .
You want to just flip the cutter over, but most have that seam for strength on one edge.
You could decorate the bottoms of the baked cookies, but they're not as smooth as the tops and the edges square off differently.
So how do you create mirror images?
Cut out your shapes as usual with the sharp edge of the cutter. Then . . . . . flip half of the dough shapes over and put them on the baking sheet and into the oven.
Doh! Seriously, why didn't I figure that out sooner?
Am I the last one to know?
Happy Tuesday!
Have you ever made sugar cookies and wished that you could achieve mirror images?
I have. Many times. Like with these chicks. Why do they all have to face the same direction?
And the pink and orange bunnies below. They're headed in the same direction as the chicks.
Where's everyone going? What's over there?
I like things symmetrical. Always have. Whatever's happening on the left, the opposite should be happening on the right. Right? Kinda like this . . .
Aaaahhhhh. That's more like it. Symmetry. Reverse image cookies. I feel better.
Asymmetry just doesn't sit right with me.
To get mirror image cookies. . .
You want to just flip the cutter over, but most have that seam for strength on one edge.
You could decorate the bottoms of the baked cookies, but they're not as smooth as the tops and the edges square off differently.
So how do you create mirror images?
Cut out your shapes as usual with the sharp edge of the cutter. Then . . . . . flip half of the dough shapes over and put them on the baking sheet and into the oven.
Doh! Seriously, why didn't I figure that out sooner?
Am I the last one to know?
Happy Tuesday!
Sunday, December 11, 2011
Tuesday Tips
Just click on a photo to be taken to the blog post.
Keep Your Cookies from Shifting Under the Kopykake Projector . . .
Subscribe to:
Posts (Atom)